Controller Input Viewer 1.0 2D Tools 4.0 Community
Submitted by user Firezac; MIT; 2023-02-18
A plugin for Godot 4 that allows you to see and test your Inputs.
Intro
This Godot 4 plugin provides an indispensable tool for monitoring and testing your GamePad inputs. The plugin features a drag-and-drop HUD, which you can easily place in your game and view all of the inputs being pressed on your controller. It supports game controllers from PlayStation, X-Box, and Nintendo, so you can use it with any of your favorite controllers. The HUD displays not only button inputs, but also analog stick positions, the pressure value of the triggers, and even the rumble vibration, giving you a comprehensive view of your controller's inputs. This plugin is particularly useful when you want to see or demonstrate which inputs are working, or if you just need to test the rumble vibration. Whether you're a seasoned game developer or just starting, this plugin is a must-have tool that will simplify your workflow and help you bring your games to life.
How to install
If your project doesn't have one, create a folder called "addons" in the main project folder. Download the plugin folder, paste it inside this folder, and then go to the plugin menu under "Project -> Project Settings" and enable the "ControllerInputViewer" plugin.
How it works
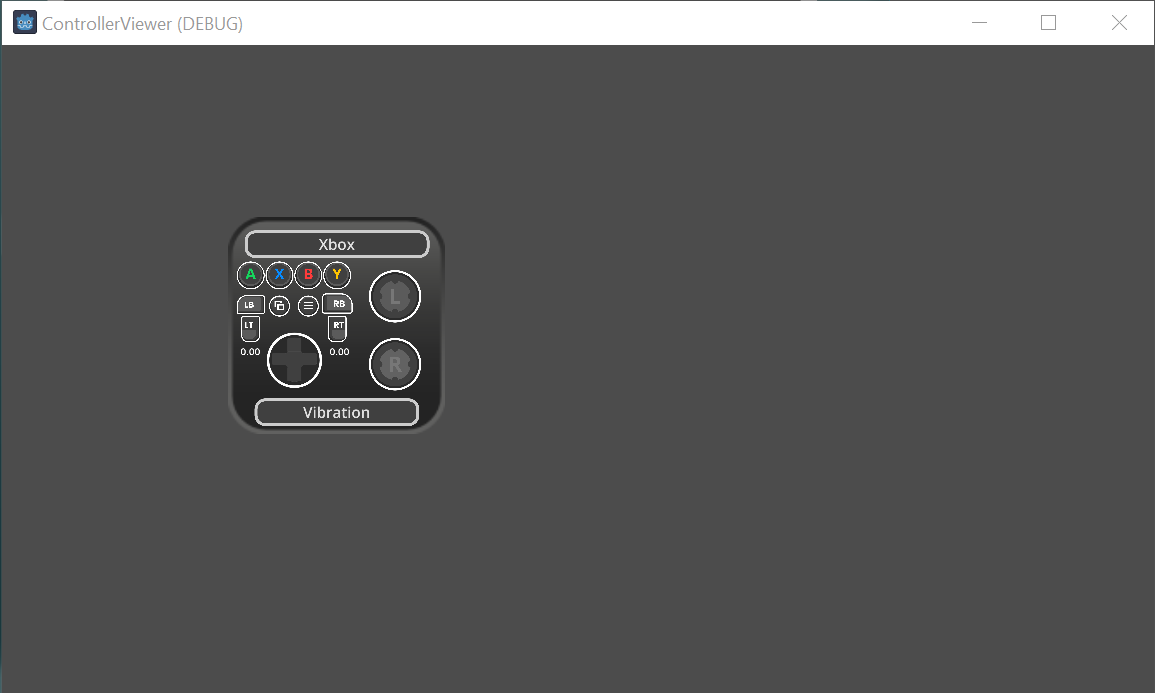
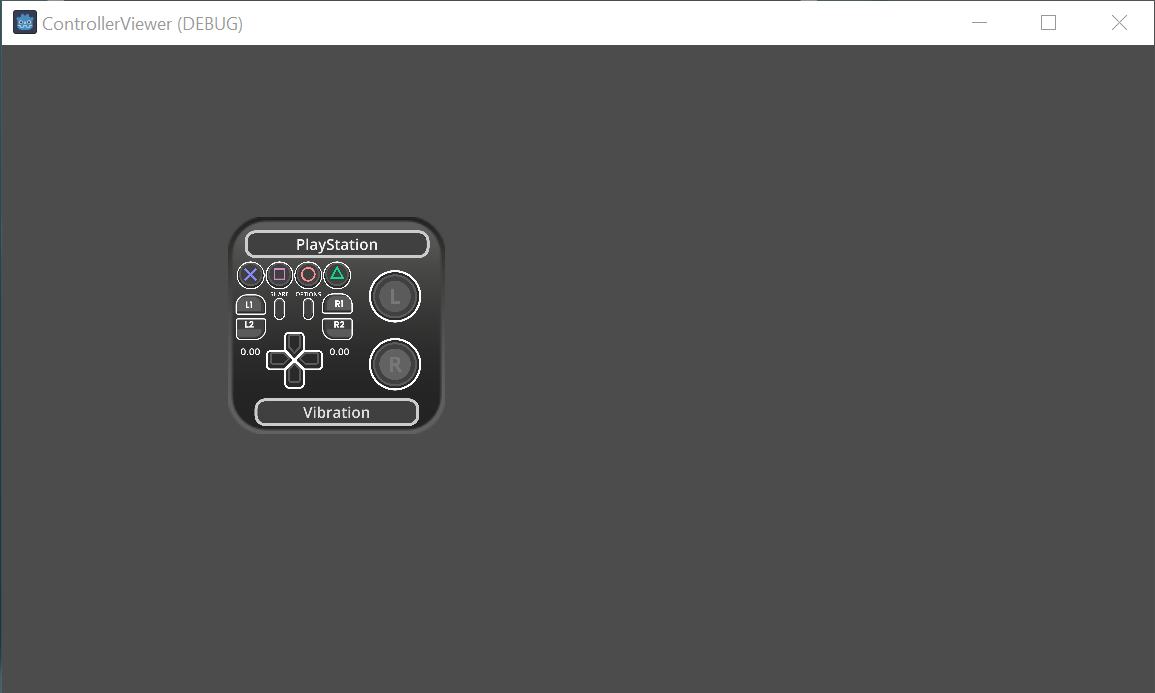
Once enabled, the "ControllerInputViewer" node can be found inside the 2D Node. Once you place it in your scene you will notice that nothing will appear in your scene. This is because the node is only activated when you play the game. It is recommended that it be placed in front of all scenes, including outside your ViewPort if you are using it to isolate the node of your game. This way the plugin will work better with the window dimensions of your project. Once started, the "ControllerInputViewer" node will appear as a 2D HUD floating in your scene. If you want to place it in a specific location on the screen, you can simply click on it with your mouse and move it. If you click on the first button, which is probably set to "X-Box", you will switch the layout of the other buttons depending on which console is selected. At the bottom of the HUD, you will find the "Vibration" button, where you can test if the vibration of your controller is working. The rest of the buttons are self-explanatory, following the layout of the standard controls.
Presets
In the Inspector menu you can set some presets for the use of the "ControllerInputViewer". These are:
Hide Hud: If this option is not selected, the HUD will be hidden as soon as the game starts.
Hide Hud Command: This option allows you to enter the name of an Input created in the Inputs list to enable and disable the HUD.
Hide Controller List: If this option is enabled, every time the game starts it will show in the Output tab how many controls are connected.
Up Scaller Hud: This option allows you to use an Input created in the Inputs list to increase the size of the HUD.
Down Scaller Hud: This option allows you to use an Input created in the Inputs list to reduce the size of the HUD.
Hud Scale: Pre-determines an initial value for the HUD.
Credits
Plugin created by: Erick Firezac
Button-based assets created by: Arks
View files Download Submit an issue Recent Edits