Wait, are we not in Beta?
A considerable number of users requested a more efficient way to have GI (Global Illumination) in their projects. Godot 3.0 currenty offers the GIProbe node, which provides a real-time approximation to GI. This generally works and looks pretty, but it’s quite shader intensive, which makes it not work on mobile or low end GPUs. The newly added VR support also suffers with GIProbe, as it has to render in very high resolutions.
The solution to these problems is to add support for a more traditional lightmapper (pre-baked light texture). Light is precomputed offline and rendered to a texture, which is then used by the geometry.
I thought it may not be too difficult to add one, so I started work on Sunday and completed it on Wednesday.
The biggest challenge of this workflow is not the lightmap itself, but the fact that it should be easy to use (which is Godot’s #1 design priority).
How does it look?
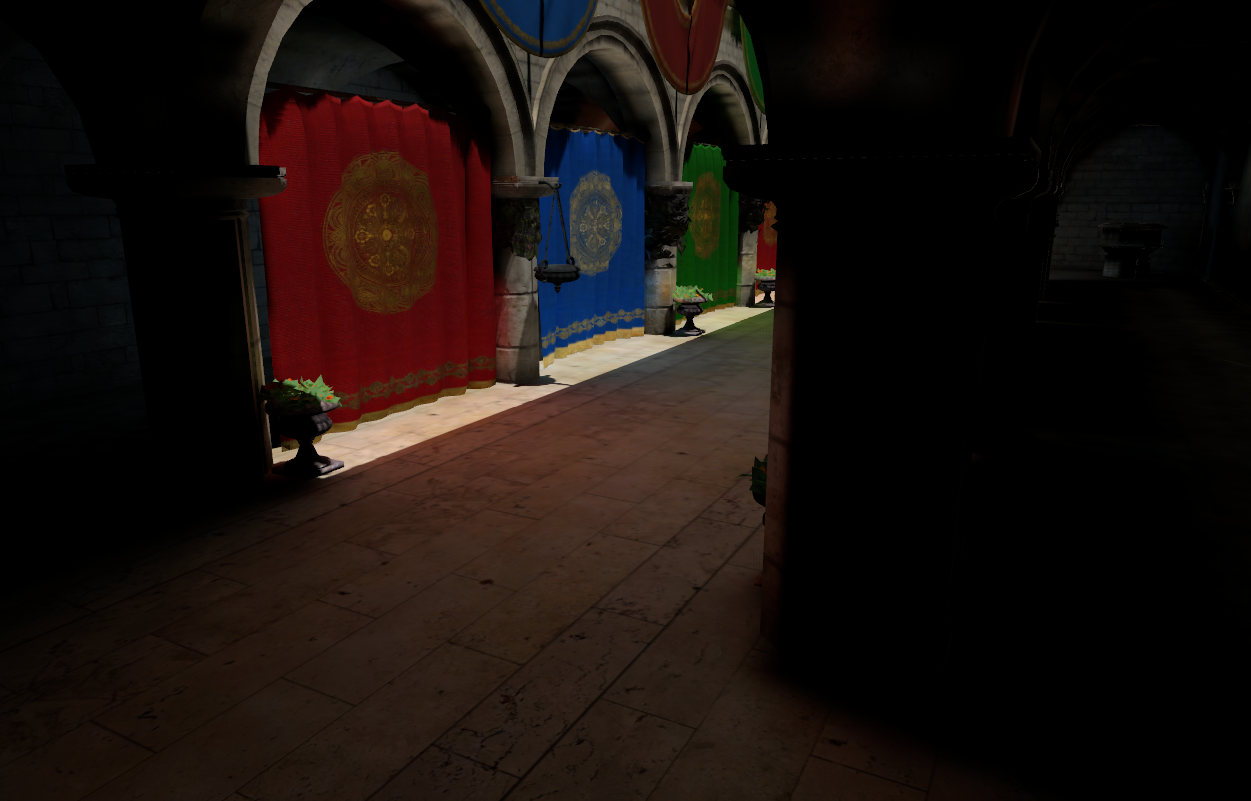
Lightmapper looks pretty nice:
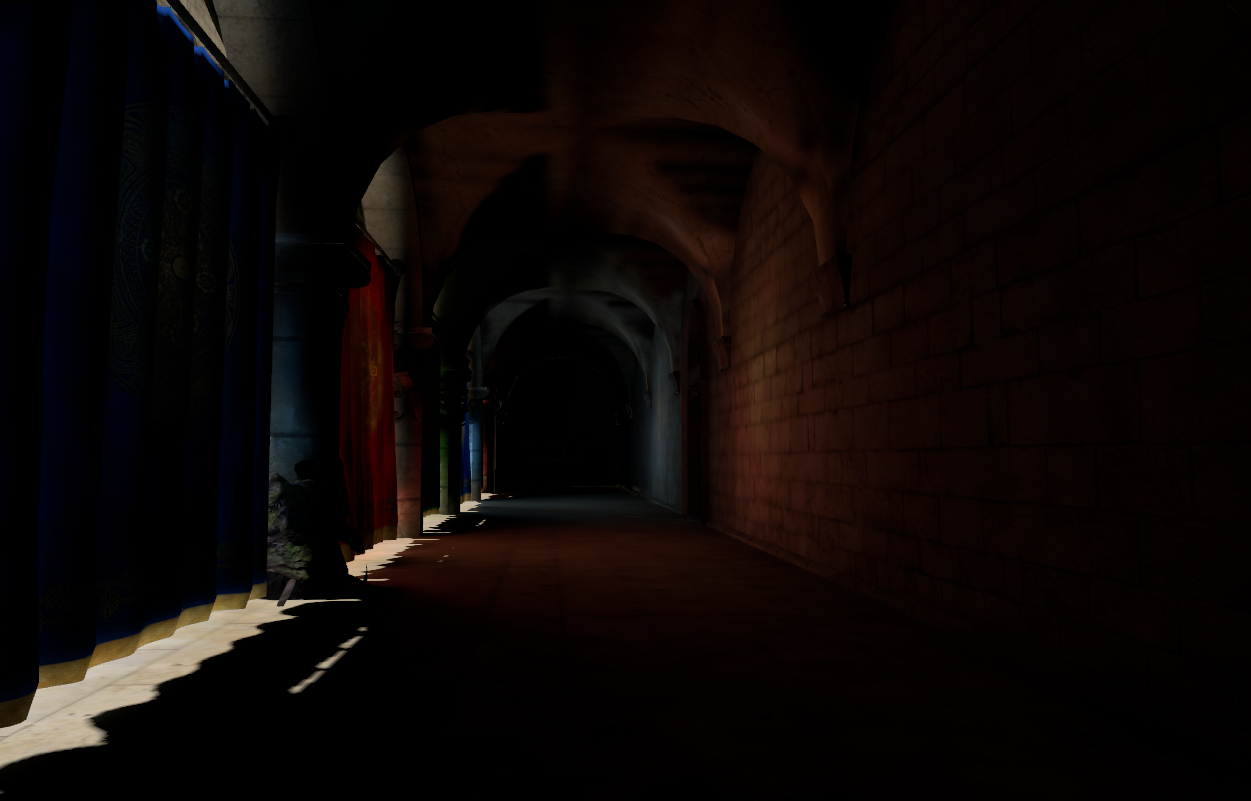
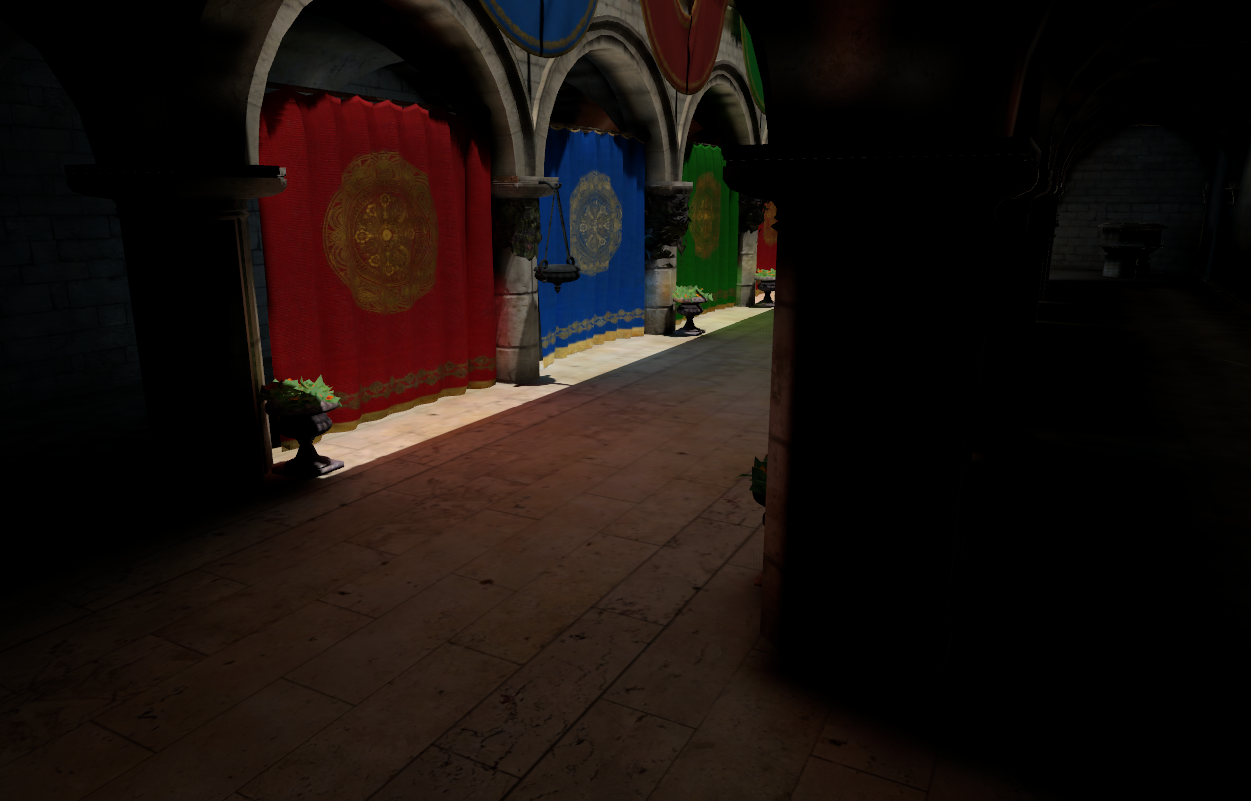
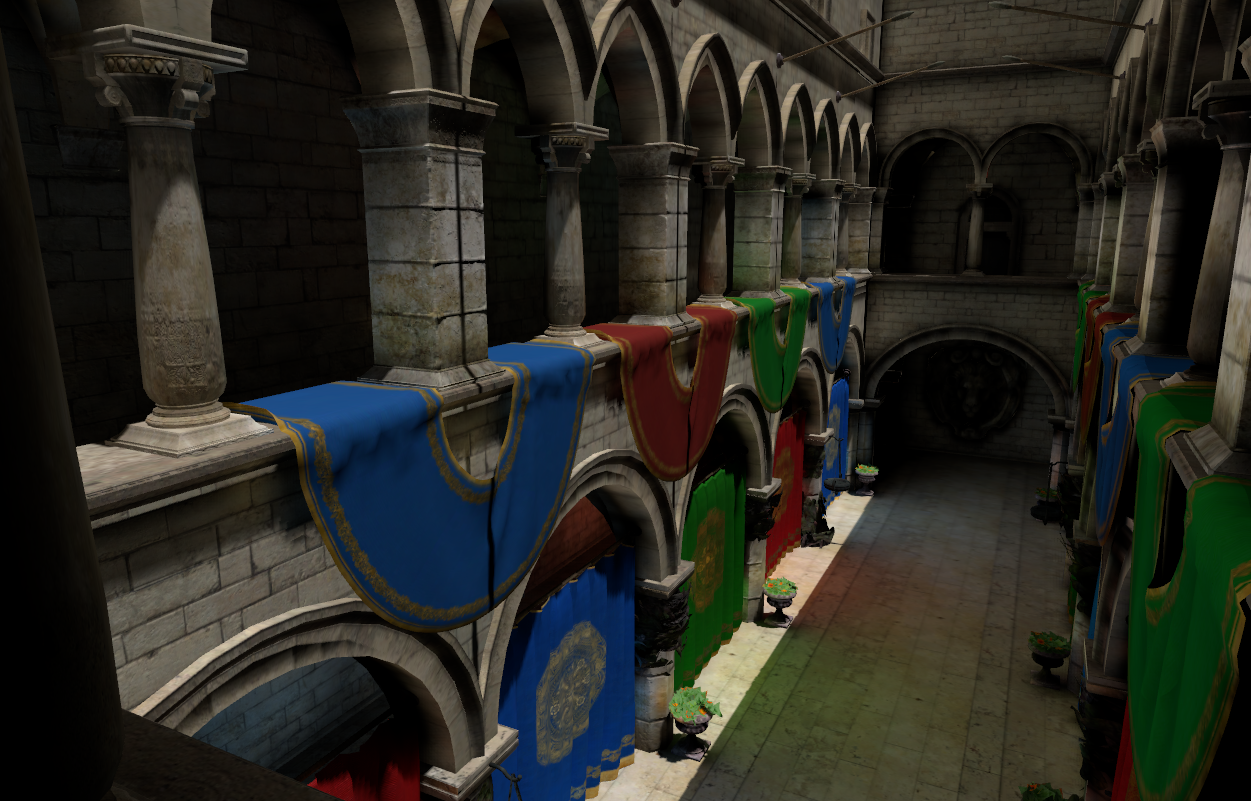
Of course, GIProbe still has the advantages of being real-time, easier to set up (no unwrap or bake), supports rough refletions (which look great), and light affects dynamic objects more accurately. It’s up to you to pick what’s best depending on your needs.
What are the performance limitations?
Lightmapping is a very cheap operation, so it should run fine even on low end mobile.
How do I use it?
First of all, you need to make sure your meshes have an UV2 layer. Godot lightmapper works with one texture per mesh, so sharing UVs between meshes will not give you more optimization.
Generating UV2 Layer
In any case, Godot makes the process of generating unique UVs for each mesh easier for you. There is now a new import option to generate them:
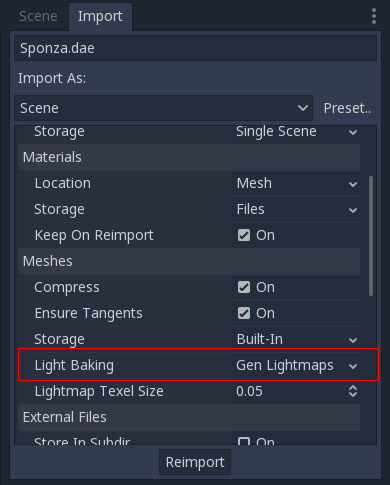
It is very important to pay attention to the “Lightmap Texel Size” option below. This is an approximate value of the size of a lightmap texel in world coordinates. Value displayed above means a texel every 5cm. The smaller this value, the bigger the lightmaps will be.
Also, if you are reusing a mesh in the scene, keep in mind that UVs will be generated for the first instance found. If the mesh is re-used with different scales, this will result in very inefficient lightmaps. Just don’t reuse a mesh and instance it in different scales.
Setting up the BakedLight node
Once the scene is imported, make sure to create a BakedLightmap node:
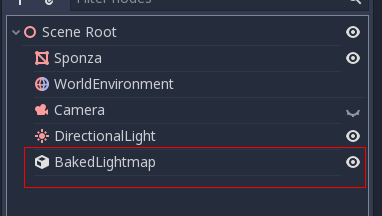
Lightmap needs an approximate volume of the area affected, because it uses it to lit dynamic objects inside (more on that later). Just cover the scene with the volume, as you do with GIProbe:
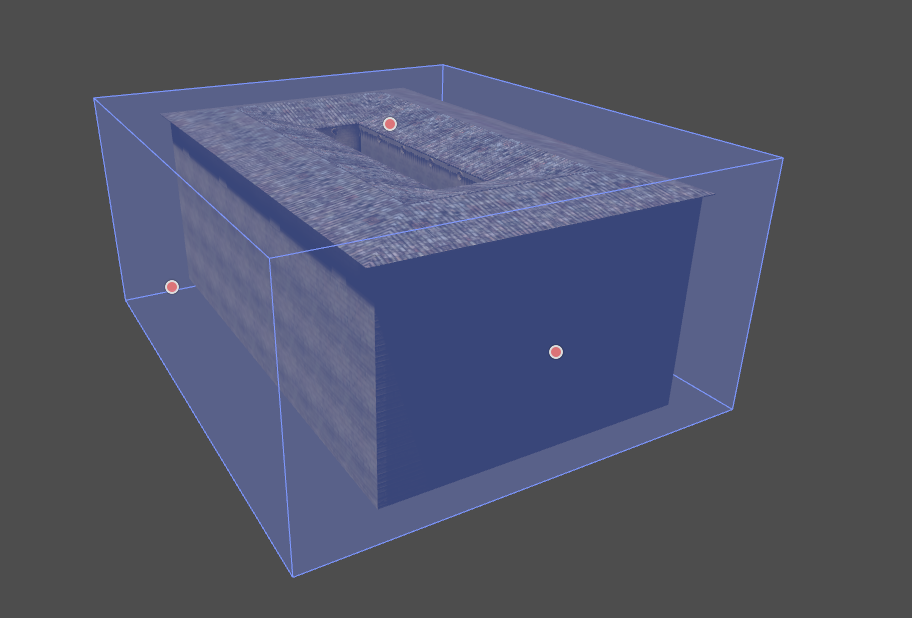
Finally, just press the big BAKE button.

And make some coffe, tea or mate. This process can take some minutes. As you can see, it’s really easy to use lightmapping in Godot.
Tweaking Options
Lightmap generation has a few options, which will be described below:
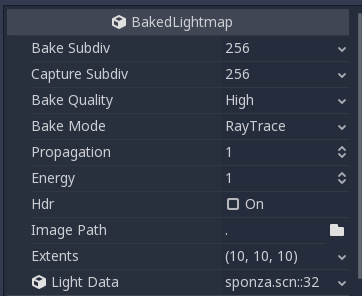
- Bake Subdiv: Godot lightmapper uses a grid to transfer light information around. The default value is fine and should work for most cases. Increase it in case you want better lighting on very small details or your scene is very large.
- Capture Subdiv: This is the grid used for real-time capture information (lighting dynamic objects). Default value is generally OK, it’s usually smaller than Bake Subdiv and can’t be larger than it.
- Bake Quality: Three bake quality modes are provided, Low, Medium and High. Obviously each takes less and more time.
- Bake Mode: The baker can use two different techniques: Voxel Cone Tracing (fast but approximate), or RayTracing (slow, but accurate).
- Propagation: Used for the Voxel Cone Trace mode, works just like in GIProbe.
- HDR: If disabled, lightmaps are smaller but can’t capture any light over white (1.0).
- Image Path: Where lightmaps will be saved. By default, on the same directory as the scene (“.”), but can be tweaked.
- Extents: Size of the area affected (can be edited visually)
- Light Data: Contains the light baked data after baking. Textures are saved to disk, but this also contains the capture data for dynamic objects, which can be a bit heavy. If you are using .tscn formats (instead of .scn) you can save it to disk.
Dynamic Objects
In other engines or lightmapper implementations, you are required to manually place small objects called “lightprobes” all around the level to generate capture data. This is used to, then, transfer the light to dynamic objects that move around the scene.
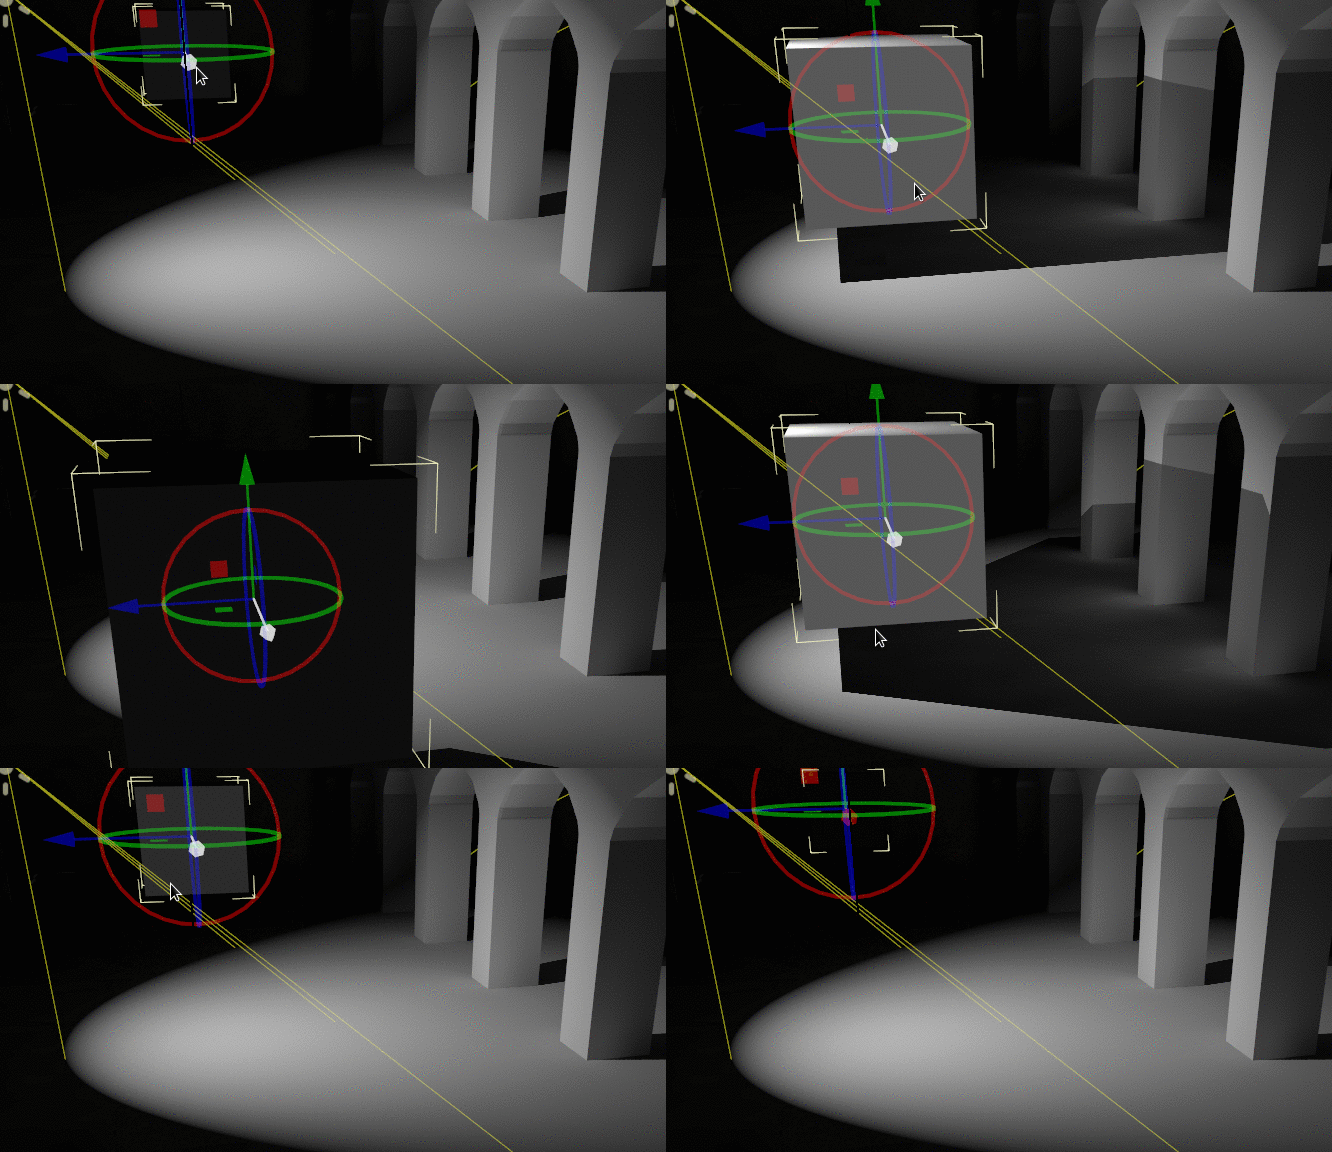
Godot implementation of lightmapping uses a different method, so this process is automatic and you don’t have to do anything. Just move your objects around and they will be lit accordingly. Of course, you have to make sure you set up your scene bounds accordingly or it won’t work.
Future
Lightmap bake times are relatively fast (but raytrace+high can take an hour or two on a big scene). It should be easy to optimize the light transfer integral by eventually converting it to OpenCL. If you are experiecned with this API and would like to do this job, please let us know!
And, as always, remember that all the work we do is given to you for free, full source code, and the most open license (MIT). Please consider helping the development of Godot by becoming our patron.
