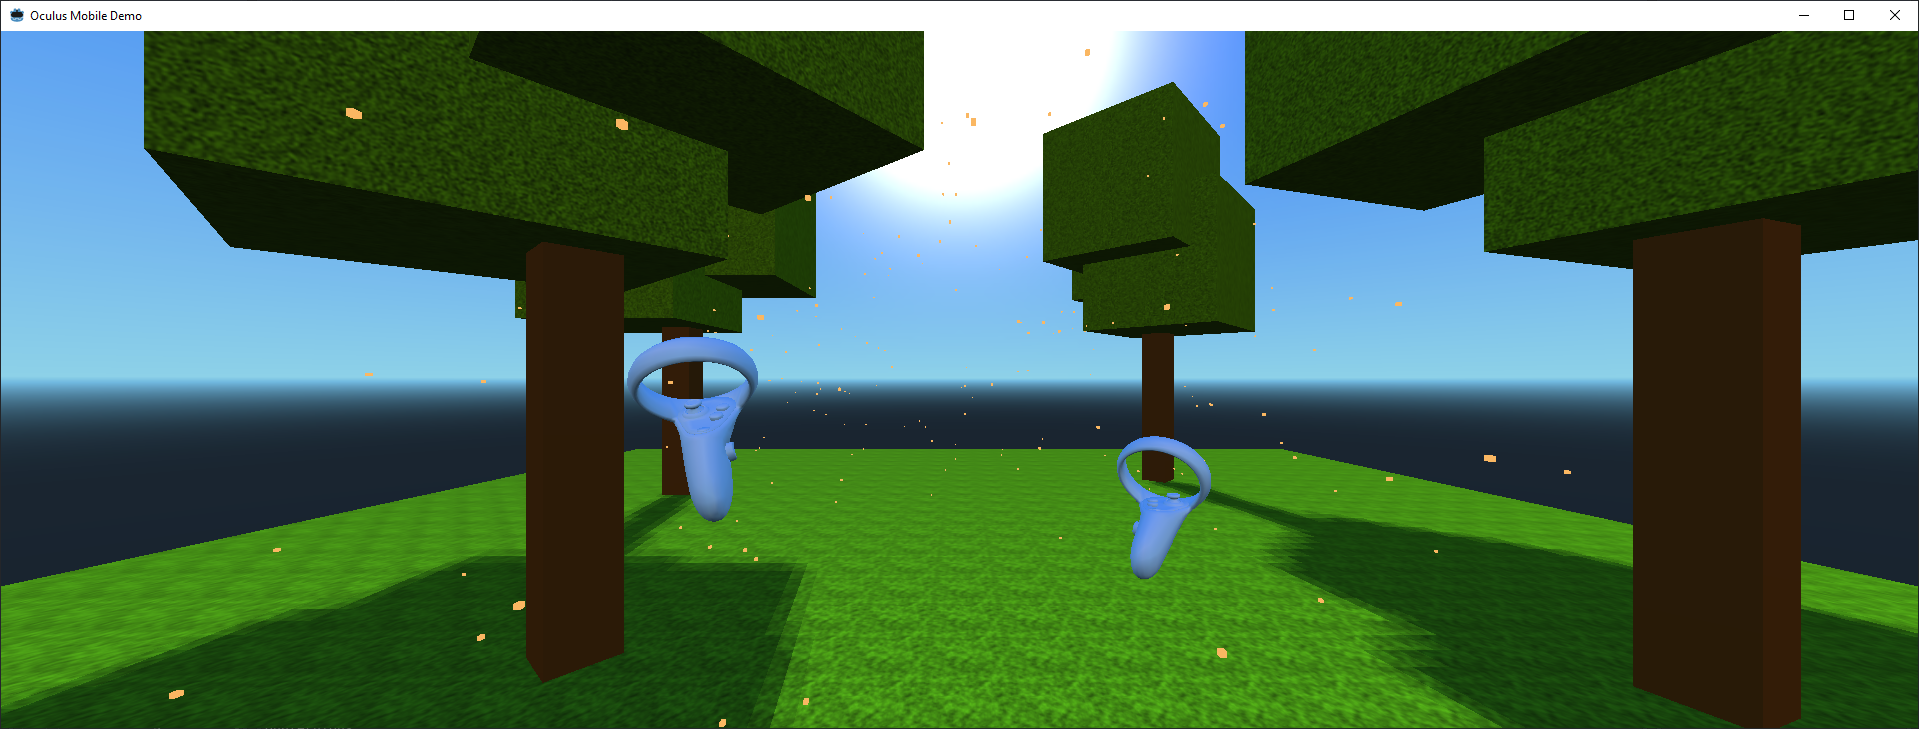
Godot has been running on the Oculus Quest since early this year. We’ve been hard at work improving support for this amazing device.
Late last year a new team member joined who has taken Quest support under his wing, so a special shout out to Fredia Huya-Kouadio (m4gr3d), all credit goes to him. Also a quick shout out to Holger Dammertz (NeoSpark314) who has been doing a lot of testing, building examples and really pushing the limits of what Godot can do on the Quest.
Oculus themselves started showing an interest in the work as well and have been very supportive of our efforts including providing hardware to core team members.
The Quest seems uniquely positioned for those who enjoy working with Godot. Due to the stand alone nature of the device and it building ontop of Android you don’t need a lot more to get going. Whether you are on Windows, macOS or Linux, if your machine runs Godot you can develop for the Quest.
Getting started
You do need Godot 3.2 or later as various enhancements were made to the Android platform. As 3.2 is still in beta at this time download the latest beta. Keep an eye out for the announcement blog posts as you want the latest release. Also make sure to install the export templates that go with the version you download.
Next follow the instructions in the help pages: Exporting for Android. This leads you through installing the toolset that Godot needs to export to Android devices.
Last but not least you will need the Quest plugin. Once Godot 3.2 is officially released we will make this plugin available in the Asset Library but to prevent confusion it is a manual download for now: GodotVR/godot-oculus-mobile-asset
Open up Godot and create a new project.
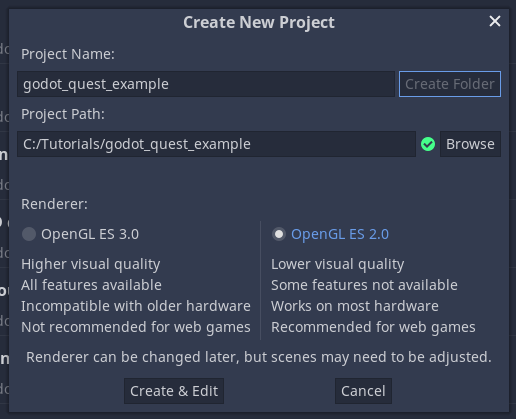
Make sure to chose the GLES2 renderer. Due to optimisations in the Quest’s GPU this backend is far better suited for the Quest.
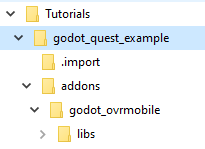
Copy the addons folder from the Oculus Mobile asset into your Godot project. Your project tree should looks something like this:
Now we can start building our main scene. To keep things simple we’ll stick to the bare minimum.
- We add an
ARVROriginnode first. - Then we add three child nodes to the origin node, one
ARVRCameraand twoARVRControllers. - Assign controller id 1 to the first
ARVRControllerand rename that toLeftHand. - Assign controller id 2 to the second
ARVRControllerand rename that toRightHand. - Finally we’ll add a
MeshInstanceas a child node to our firstARVRControllerand create a box shape, resize the box so each side is set to 0.1. Now duplicate theMeshInstanceand move it to the secondARVRControllernode. These will stand in for our controllers, we’re keeping things really simple.

Now add a script to the main node and add the following code:
extends Spatial

onready var ovr_init_config = preload("res://addons/godot_ovrmobile/OvrInitConfig.gdns").new()
onready var ovr_performance = preload("res://addons/godot_ovrmobile/OvrPerformance.gdns").new()

var perform_runtime_config = false

func _ready():
	var interface = ARVRServer.find_interface("OVRMobile")
	if interface:
		ovr_init_config.set_render_target_size_multiplier(1)

		if interface.initialize():
			get_viewport().arvr = true

func _process(_delta):
	if !perform_runtime_config:
		ovr_performance.set_clock_levels(1, 1)
		ovr_performance.set_extra_latency_mode(1)
		perform_runtime_config = true
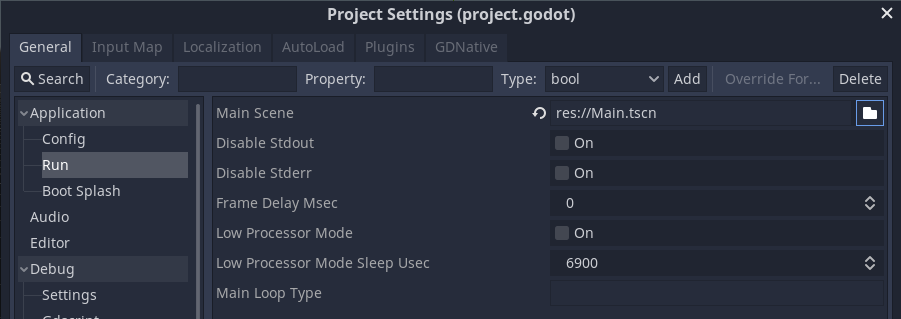
Before we can export our project to our Quest we need to do three more things.
First go into the project settings for our project and make sure that our main scene is the scene we run. Godot does not ask you to set this on export.
Then go into the export menu and configure a new Android export. Now I’m assuming you followed the instructions in the “Exporting for Android” page I refered to at the start. If you didn’t you’ll have some red messages on this screen and I highly recommend you revisit that page.
If you did we can forge ahead and make a few small changes to the export settings. First we change the XR Mode to “Oculus Mobile VR”. Then we change our Degrees of Freedom mode to “6DOF”.

Now save and close the export window.
Finally wip out your phone, when you got your Quest you needed to install an Oculus app on it and link it up to your Quest. Start the Oculus app. Press the settings cogwheel on the bottom right hand side. Select your Quest:

Select “More Settings”, and select “Developer Mode”:
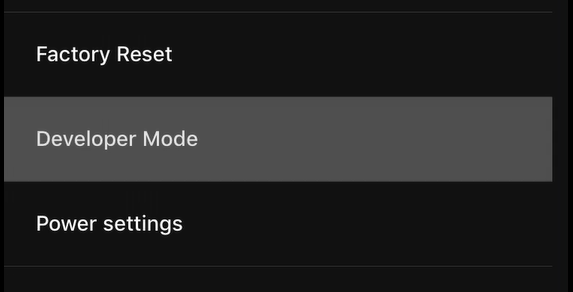
Now turn developer mode on:
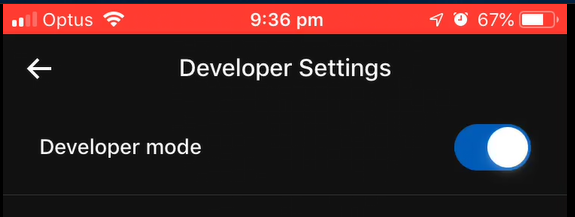
This allows us to deploy our games to the Quest.
Connect the Quest to your PC with the provided USB cable. Put the Quest on, it may give a few dialogs to give the PC permission to deploy apps. Now hit the little Android button that should be visible in the top right hand side of your Godot window. It should build your game and export it to the Quest.
The above does the bare minimum to get your project running on the Quest, it’s not very exciting. Holger Dammertz has made a great toolkit for the quest that contains a lot of scenes to get help you on your way including really nice controller meshes.
You can find his toolkit here: NeoSpark314/godot_oculus_quest_toolkit.
If you want to help out with improving the plugin please join us here: GodotVR/godot_oculus_mobile.
Last but not least, Android C# support for Godot has been added and is being tested in Godot 3.2 beta 4. We will be doing a getting started tutorial on that soon.